Last summer, the Conrail Historical Society magazine featured a series of articles about the Penn Central (and later Conrail and CSXT) X67 class of hi-cube boxcars used to transport auto parts. I had been wanting to make a hi-cube boxcar for CCE Models and this excellent issue spurred me into action.

Along with a history of the car, the article had drawings and dimensional data which I used (along with several reference photos) to design a 3D model. A test model turned out pretty nice, except the doors were a bit of a sore spot. Due to the small features such as the door rods, locking bar, etc. the 3D printing process made the doors look rough. I had been thinking about trying to make boxcar doors of photoetch brass, so here was my opportunity to test this approach. I adjusted the model design to omit the doors, and did the artwork for a photoetch double plug-door. A few weeks later I had my PE frets and was in business!
Here's a step-by-step summary of the build of the CCE Models 86' Hi-Cube Boxcar (PC class X67):
Step one is to clean the model and prime it. I gave the boxcar and the PE fret a shot of my go-to primer, Tamiya Fine Surface Primer (gray).

Next, I test fit and applied the PE door to the model using some Microscale Krystal Klear.


Once the doors and the end brake wheel (also included on the PE fret) were applied, another coat of Tamiya gray primer was applied. This also helps seal the details to the model.

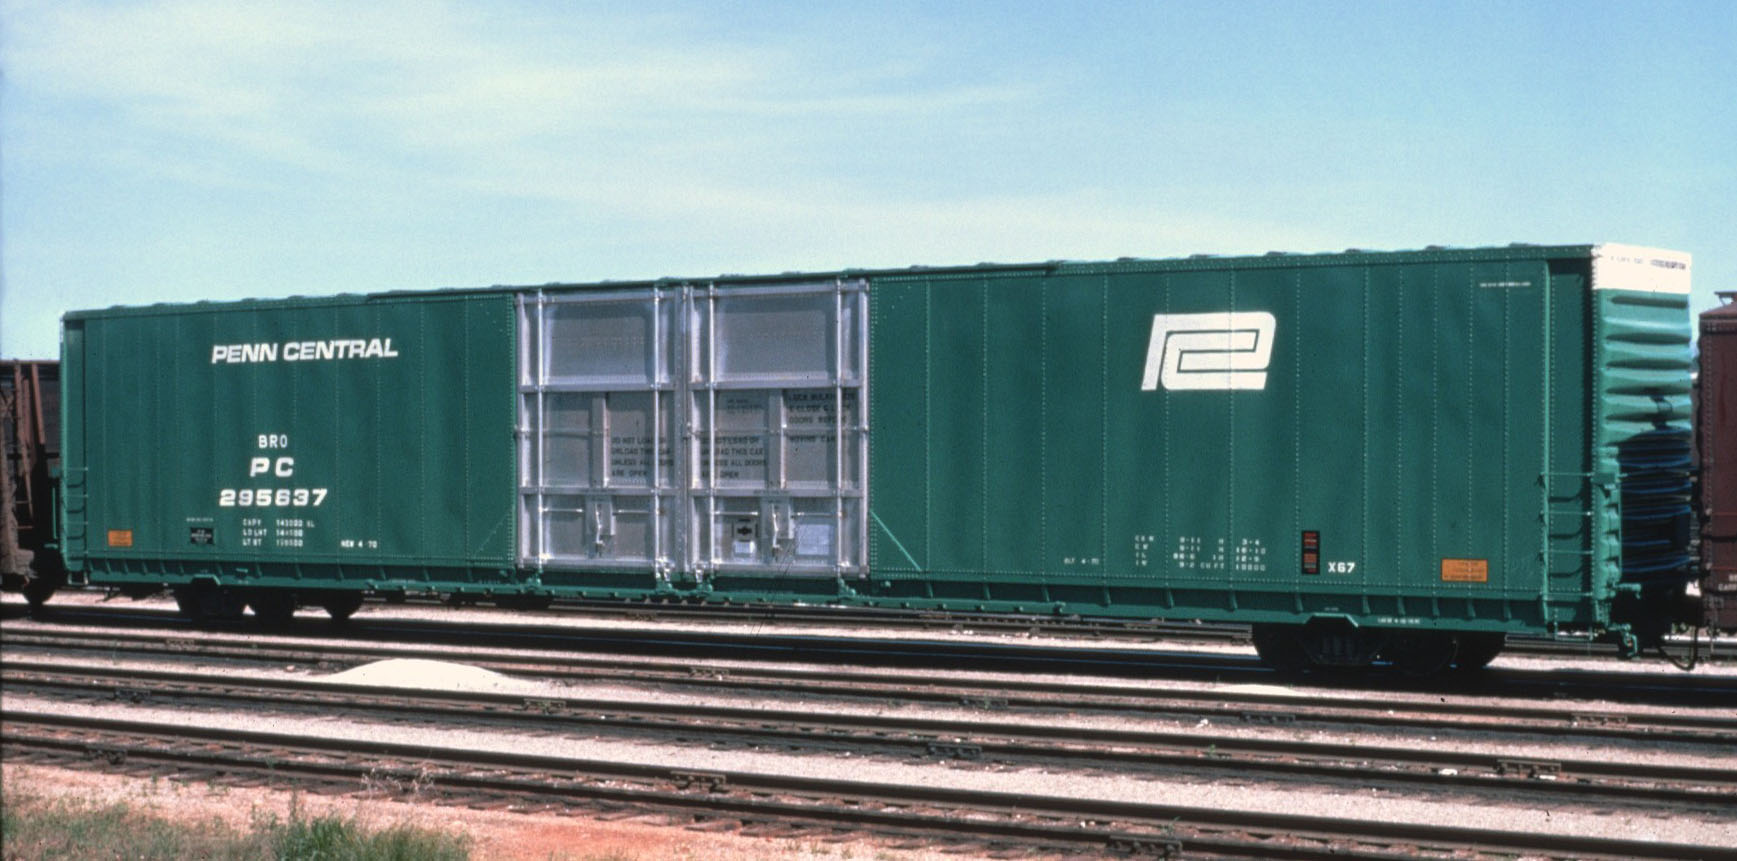
The next step was the finish painting. I wanted to model the original car as used by the Penn Central seen below (photo from Hebners.net/Collection of Albert Phleep, photographer unknown). The PC decals are included in the CCE Models X67 decal set along with the Conrail markings.
The roof appears to be unpainted on the original, and the doors are exposed aluminum as well, so the car was given a coat of a metallic silver from a rattle can. I used my favorite metallic silver, Spaz Stix 10009, "Ultimate Mirror Chrome"--highly recommended (it can usually be found on Ebay and Amazon).

Once the silver had set, I masked the doors and roof. I then airbrushed flat white on the top of the ends for the "excess height" band. This band was also masked, and finally the whole car was airbrushed using Polly Scale Penn Central Green.


The decals went on easily, and I used the reference photo to help position them correctly. MicroSet and MicroSol were used to get the decals to bond and settle to the surface, and after drying for a day, a coat of Vallejo Flat Varnish sealed them.


The trucks were assembled with Pin-Point Wheelsets from TGauge.com, and attached using the press-fit pins that come with the model. The pins sometimes need to be slightly shaved/sanded (and/or the hole reamed out a bit) for the easiest fit.

Here is the assembled frame with wheelsets.

The frame assembly is an easy press-fit into the body, to complete the model:
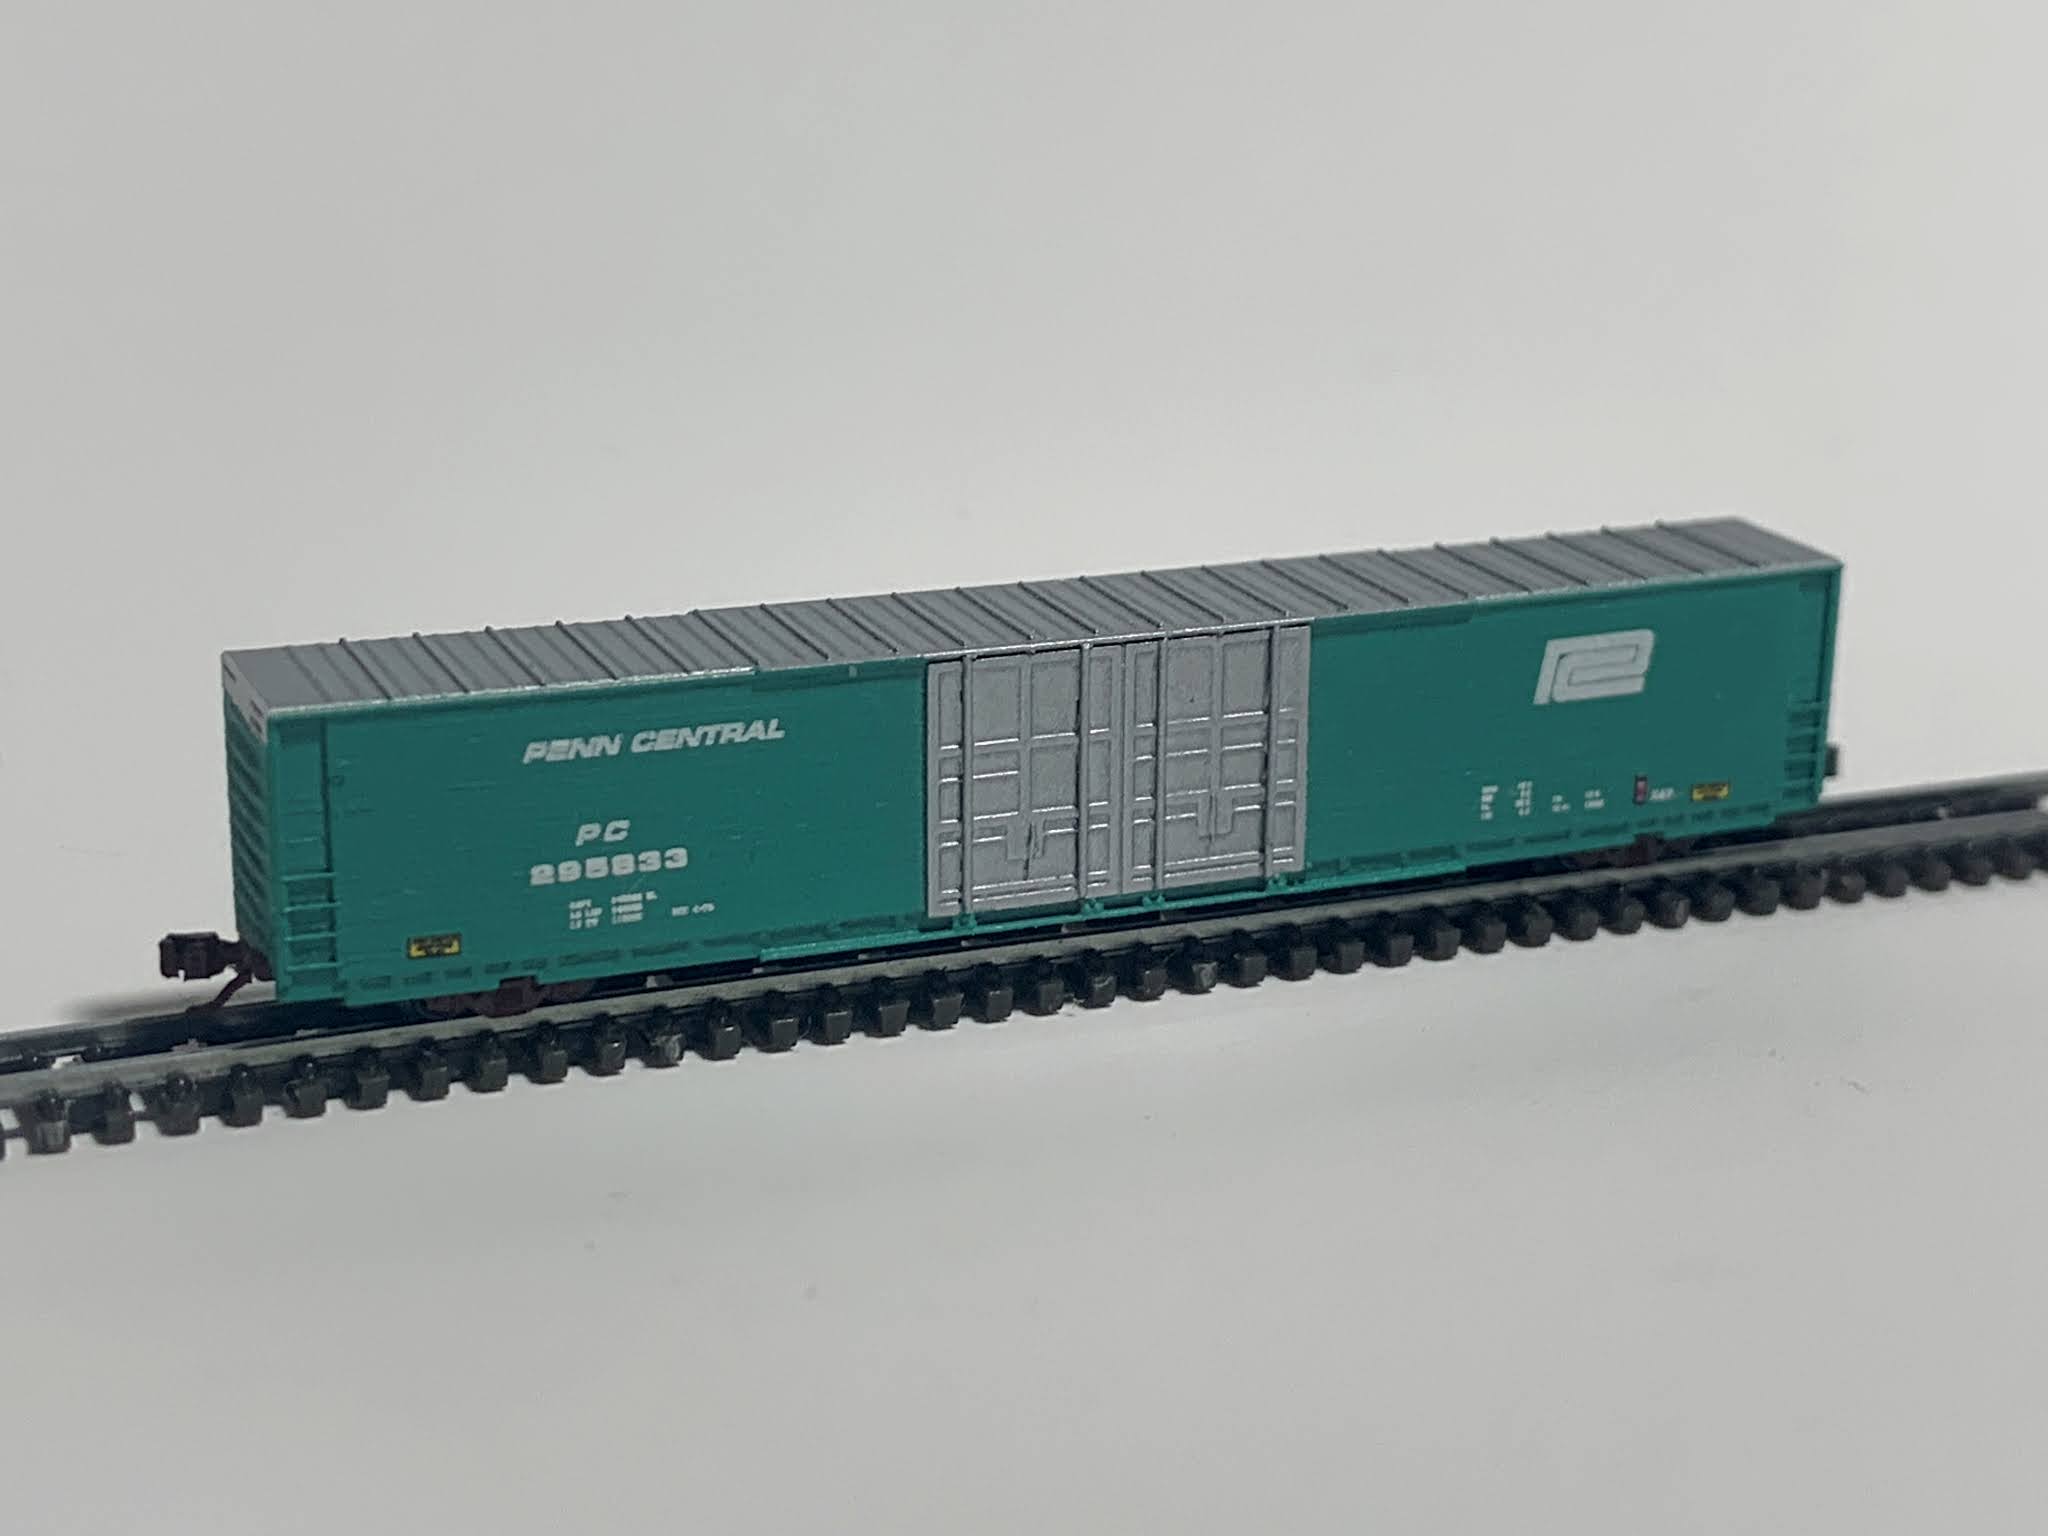

This build is really not difficult, even though very small. As always a magnifying visor is an absolute necessity. I like how the doors worked out and will be rolling out etched brass doors for all CCE Models with plug-doors. The use of etched brass for details also opens up some other possiblities such as an enclosed auto rack.. stay "T"uned! - Jesse
No comments:
Post a Comment
Please feel free to add comments but the best way to ensure I see them promptly is to email me directly at ccetrains@gmail.com