As I got down to work beginning to lay track, I started to balk at the idea of so many slightly ambitious sub-projects on this test layout-- the Allegheny River Bridge in particular. After all, I really just want to validate T modeling techniques and get a nice roundy-round layout that I can use to demonstrate the scale, perhaps at a few shows in the region. Truth be told, I haven't worked on a layout in over 20 years either, so many of my skills are pretty rusty. e.g. soldering, scenery, etc. I was starting to feel as if I'd bitten off just a tad too much.
So, as is my right as a model railroader and lord over the lair, I tore up the basic scenery and went back to a flat-top design for the little 2x3 layout. I have retained the basic shape, and will still incorporate some hills and dales. What will be omitted is the Millvale/Willow Grove area which will likely become just single track running through some hills; Instead of a backdrop/divider, there will be a central ridge with a tunnel at one end. Willow Grove, I'm thinking, may become Wildwood (further west on the real P&W), and I might even put a coal load-out there. I'm still going to try model the Etna area near BG tower as well.
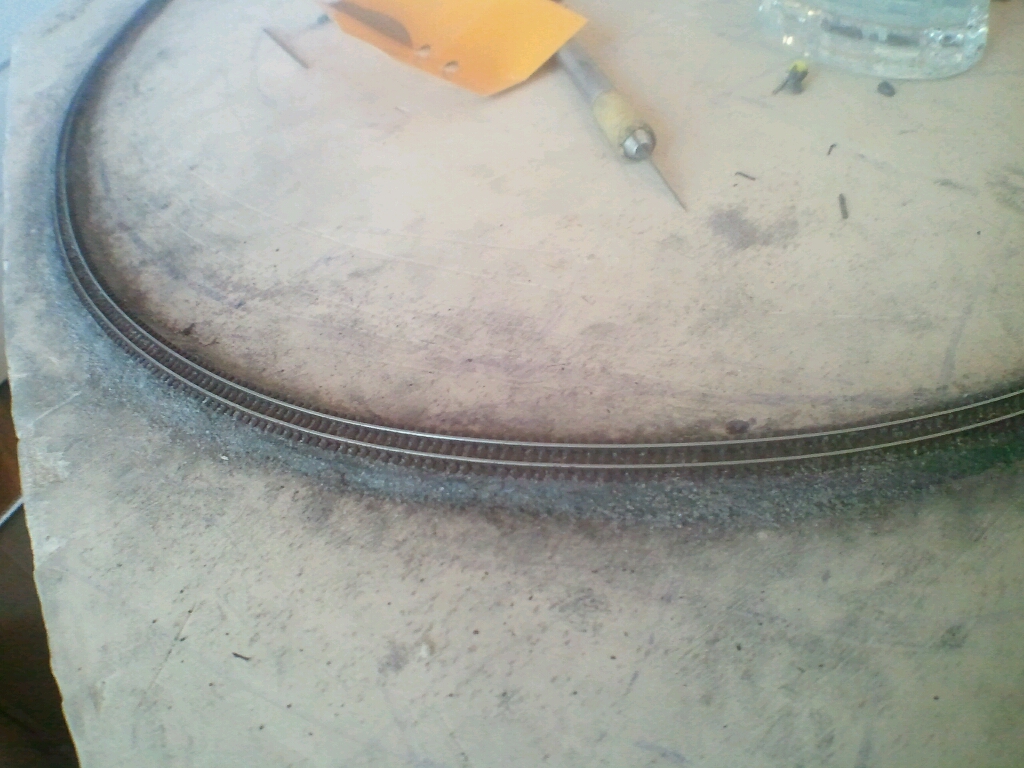
Anyway, another track technique update: I put down the roadbed and finalized the loop! See below picture-essay.
One thing that is pretty annoying about T-gauge flex track is the "twist" it tends to develop when curved. It torques for some odd reason. I had thought the aggressive tack of the roadbed would be sufficient but even that wasn't enough. I have therefore popped a screw in to hold it temporarily. The ballasted roadbed with a layer of matte medium I HOPE will be enough to hold it in place. Or else, I will resort to more mechanical restraints for the pesky trackage.
AMI roadbed cut into 12mm wide strips:
Roadbed down. Note: It is NOT firmly pressed in place yet!
Pre-painted track laid in place (again, not firmly pressed down yet):
Aligning the track and the roadbed..
The prototype railroads use a tamper/liner for this. I use an x-acto knife.
At this point, the ballast is be sprinkled in place and the entire system tamped with a finger. I ended up sealing with some thinned matte medium. I also had sprinkled some black weathering powder on the system. A little touch up on the rail is needed. I think it looks pretty decent as some weathered mainline rail.


.jpg)
.jpg)
.jpg)