Thursday, November 7, 2013
Changes in the T-Gauge Landscape
"Due to circumstances beyond our control.." the main forum for T-gauge modelers, "Talking T Gauge," which has been hosted by David K. Smith has been taken down. This was the place for news and updates from other T-Gaugers around the world. The forum recently took on a life of it's own with some (in my opinion) immature behavior being displayed by users, but this is not the reason for the forum being shut down. In any case, after checking with DKS, it appears to be a permanent loss--or at least semi-permanent. This is sad but comes with the territory. T-gauge is not a huge commercial market, and there are only a few of us carrying the torch. I'm debating whether to start a new forum, and if there is another "home" for T-gauge please spread the word.

Sunday, August 11, 2013
Rolling Stock Updates
My T-gauge reputation to date has mostly been my rolling stock models, and rest assured although work and family have taken much of my time lately I've been working on a few projects.
A couple notable ones:
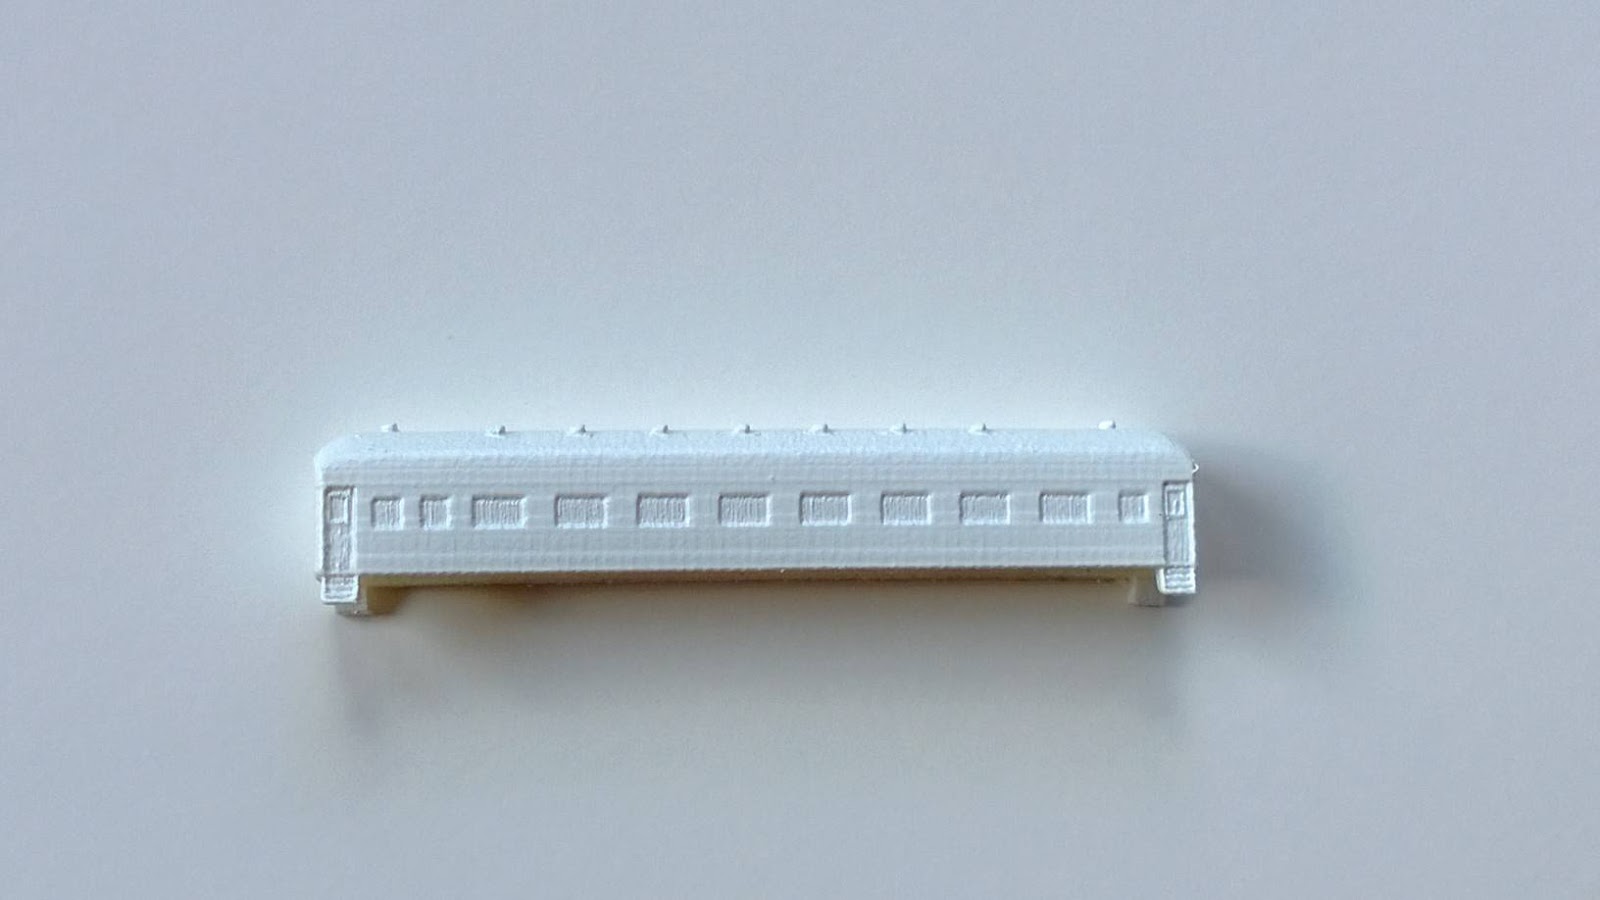
1. A 60' Harriman-style coach such as were used by the SP for commuter trains. This shell can be powered with the 39mm Eishindo mechanism.
2. Custom made Rhaetian Railways "Allegra".. part of a commissioned trainset. Graphics are nearly ready, I hope to post pics soon of that.
A few refinements of the MP36PH and Bombardier Coach projects have been done.
Oh.. did I mention an EMD GP9 is in the works. Afterall, the B&O/Chessie layout absolutely demands a few Geeps!
This should be an exciting fall as projects come along.!
Sunday, June 9, 2013
Little Steps
Some progress to report this weekend. I finally finished ballasting the track. Next up will be adding and experimenting with bridges/abutments and terrain. Pine Creek will pass under the railroad in a coupIe of locations. One thing evident in the pictures is the ability to create nice, broad curves in T-Gauge, even in a small space.
.jpg)
.jpg)
.jpg)
Tuesday, May 28, 2013
Track Progress
Had a little time to work on the track this weekend, I put down some additional ballast and playing around with the technique a bit. It's pretty forgiving-- I'm finding some bits I didn't like I can patch up. Little scraps of roadbed can be rolled up a-la playdoh worms and spread where needed. The ballasting is being affixed after arranging with a brush with a shot of dullcote, then a few drops of thinned matte medium after that has dried.
This corner is Etna, BG tower will sit in the corner closest to the camera. I need to add the ex-PRR industrial track to the Tippins Machine Works, which will be a 70-degree (or so) crossing. The crossing will be non-functional.
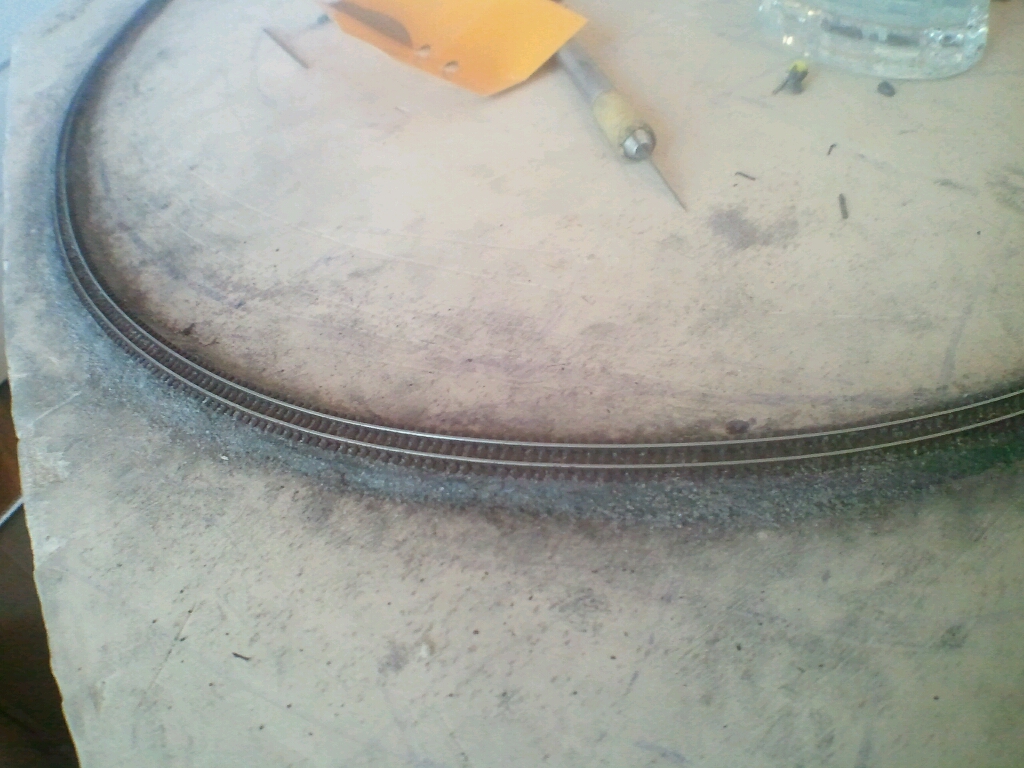


This corner is Etna, BG tower will sit in the corner closest to the camera. I need to add the ex-PRR industrial track to the Tippins Machine Works, which will be a 70-degree (or so) crossing. The crossing will be non-functional.
Monday, May 27, 2013
A New Tool (or Toy)
I've been using my cell phone camera (a Samsung Galaxy S) for most of my pictures.. (err. well I can't remember the last time I used my old Canon PowerShot for anything!!) The camera phone resolution is good enough for web use, but the macro feature isn't all that powerful. After reading a post on the T-Gauge.net Forum in which a member was showing photos in need of macro focus, I did a search on Ebay and found this. The price was right so thought I'd check it out. It's a small add-on lens to the phone camera, which is secured by means of a magnet in the lens itself. You can attach a self-adhesive metal disc that holds the lens in place on the phone as well, although mine has a metal plate that works. Here are some test photos.
 Above, the up-coming Bombardier Bi-level coach, to be paired with this:
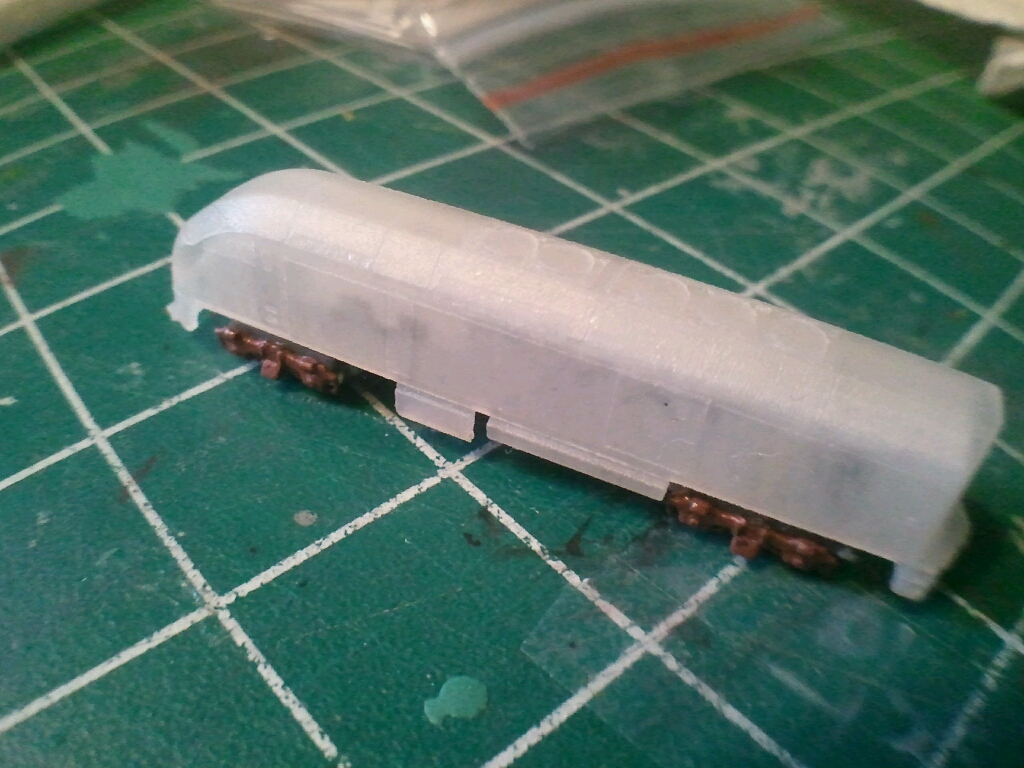
The FP7/9:
 And some closer views of the "experiment" track:


While I think I need to do a little more experimentation to get the best results, it's an improvement over the standard camera in my phone. Now to complicate matters, I just ordered a new smartphone (Nokia 928). This has a really nice Carl Zeiss lens on it, and it may have a good macro feature already. It does have a much larger sensor (i.e. more megapixels) We'll see!
I have been working ballasting the P&W layout so will update the blog with that and more macro photos soon.
The FP7/9:
While I think I need to do a little more experimentation to get the best results, it's an improvement over the standard camera in my phone. Now to complicate matters, I just ordered a new smartphone (Nokia 928). This has a really nice Carl Zeiss lens on it, and it may have a good macro feature already. It does have a much larger sensor (i.e. more megapixels) We'll see!
I have been working ballasting the P&W layout so will update the blog with that and more macro photos soon.
Tuesday, May 21, 2013
Modelers Perogative and Track Laying
As I got down to work beginning to lay track, I started to balk at the idea of so many slightly ambitious sub-projects on this test layout-- the Allegheny River Bridge in particular. After all, I really just want to validate T modeling techniques and get a nice roundy-round layout that I can use to demonstrate the scale, perhaps at a few shows in the region. Truth be told, I haven't worked on a layout in over 20 years either, so many of my skills are pretty rusty. e.g. soldering, scenery, etc. I was starting to feel as if I'd bitten off just a tad too much.
So, as is my right as a model railroader and lord over the lair, I tore up the basic scenery and went back to a flat-top design for the little 2x3 layout. I have retained the basic shape, and will still incorporate some hills and dales. What will be omitted is the Millvale/Willow Grove area which will likely become just single track running through some hills; Instead of a backdrop/divider, there will be a central ridge with a tunnel at one end. Willow Grove, I'm thinking, may become Wildwood (further west on the real P&W), and I might even put a coal load-out there. I'm still going to try model the Etna area near BG tower as well.
Anyway, another track technique update: I put down the roadbed and finalized the loop! See below picture-essay.
One thing that is pretty annoying about T-gauge flex track is the "twist" it tends to develop when curved. It torques for some odd reason. I had thought the aggressive tack of the roadbed would be sufficient but even that wasn't enough. I have therefore popped a screw in to hold it temporarily. The ballasted roadbed with a layer of matte medium I HOPE will be enough to hold it in place. Or else, I will resort to more mechanical restraints for the pesky trackage.


So, as is my right as a model railroader and lord over the lair, I tore up the basic scenery and went back to a flat-top design for the little 2x3 layout. I have retained the basic shape, and will still incorporate some hills and dales. What will be omitted is the Millvale/Willow Grove area which will likely become just single track running through some hills; Instead of a backdrop/divider, there will be a central ridge with a tunnel at one end. Willow Grove, I'm thinking, may become Wildwood (further west on the real P&W), and I might even put a coal load-out there. I'm still going to try model the Etna area near BG tower as well.
Anyway, another track technique update: I put down the roadbed and finalized the loop! See below picture-essay.
One thing that is pretty annoying about T-gauge flex track is the "twist" it tends to develop when curved. It torques for some odd reason. I had thought the aggressive tack of the roadbed would be sufficient but even that wasn't enough. I have therefore popped a screw in to hold it temporarily. The ballasted roadbed with a layer of matte medium I HOPE will be enough to hold it in place. Or else, I will resort to more mechanical restraints for the pesky trackage.
AMI roadbed cut into 12mm wide strips:
Roadbed down. Note: It is NOT firmly pressed in place yet!
Pre-painted track laid in place (again, not firmly pressed down yet):
Aligning the track and the roadbed..
The prototype railroads use a tamper/liner for this. I use an x-acto knife.
At this point, the ballast is be sprinkled in place and the entire system tamped with a finger. I ended up sealing with some thinned matte medium. I also had sprinkled some black weathering powder on the system. A little touch up on the rail is needed. I think it looks pretty decent as some weathered mainline rail.
Sunday, May 12, 2013
Improved T-Track Technique using T-Gauge Ballast
I previously wrote about using uncured butyl rubber (AMI instant roadbed) for my T-gauge roadbed. I was not 100% happy with the end-result because it seemed like the texture was not quite granular enough. It looked--in a word-- a little too "rubbery".
Recently, the fine folks at T-Gauge UK has begun offering some super-fine gray ballast. I purchased some with the idea of testing it out on my roadbed. The uncured rubber roadbed is pretty sticky, and the ballast can be pressed into it easily. My test turned out very positive. I will definitely be using this technique. First, the ballast gives the roadbed a nice granular, rock-like look. Second, it does not need as much painting/tinting to look better.

The roadbed is cut and placed as in the original procedure. Track is pre-painted as well, and pressed into place.
The ballast is simply sifted on with a folded piece of paper--and tamped with a finger.
The shoulders are also tamped with a finger and with the sanding stick--also as in the original technique. Then the excess is vacuumed up. Finally, the whole kit and kaboodle is sprayed with some Testors dullcote (don't forget to clean the railheads). Very simple--very easy. The picture speaks for itself.

And another view:
 Note the nice texture--this is what was missing on the original technique. Finally, here's one with the 50' boxcar--which incidentally has a powered chassis installed.

Recently, the fine folks at T-Gauge UK has begun offering some super-fine gray ballast. I purchased some with the idea of testing it out on my roadbed. The uncured rubber roadbed is pretty sticky, and the ballast can be pressed into it easily. My test turned out very positive. I will definitely be using this technique. First, the ballast gives the roadbed a nice granular, rock-like look. Second, it does not need as much painting/tinting to look better.
The ballast is simply sifted on with a folded piece of paper--and tamped with a finger.
The shoulders are also tamped with a finger and with the sanding stick--also as in the original technique. Then the excess is vacuumed up. Finally, the whole kit and kaboodle is sprayed with some Testors dullcote (don't forget to clean the railheads). Very simple--very easy. The picture speaks for itself.
And another view:

Subscribe to:
Posts (Atom)